
If you currently provide your syllabus content in the Canvas syllabus page, you can use Cidi Labs to update the look and functionality of your syllabus. You do this by moving your content inside the Cidi Labs Design Tools wrapper. There are 2 ways to do this. One way takes less time but the functionality of the design tools will be more limited. The second way requires more effort bringing the content into the Design Tools wrapper, but will provide you more flexibility and control over the design tools.
Important Tip: Remember that the content in any two or more versions of your syllabus should match.
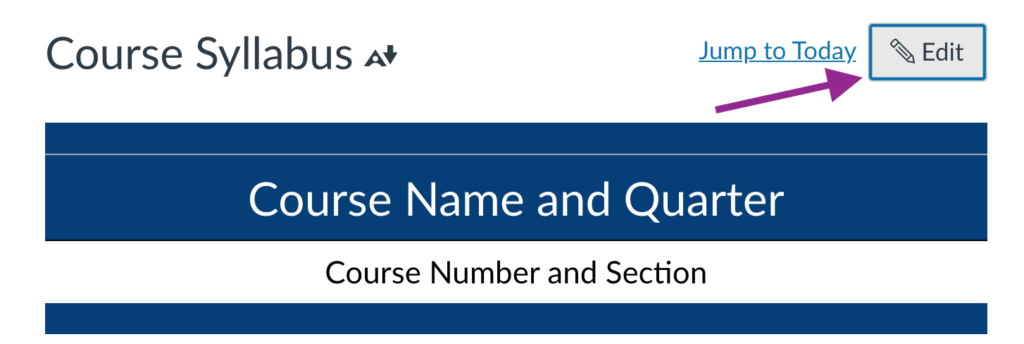
- From the syllabus screen, click on edit to open the rich content editor.
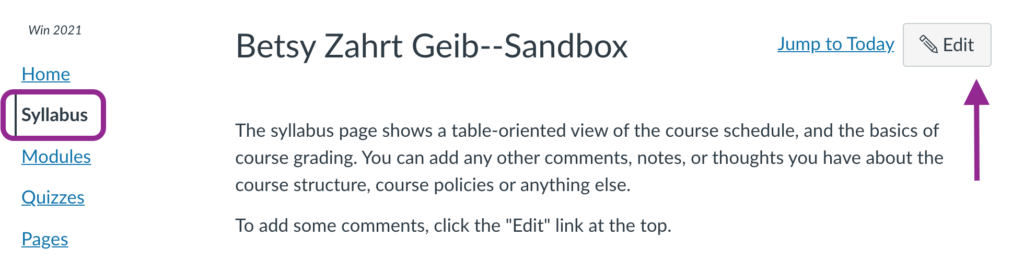
2. Launch the Design Tools interface by clicking on the rocket icon in the upper right-hand corner of the screen, or by using the short-cut keys Option-Shift-D on a Mac or Alt-Shift-D on a PC.

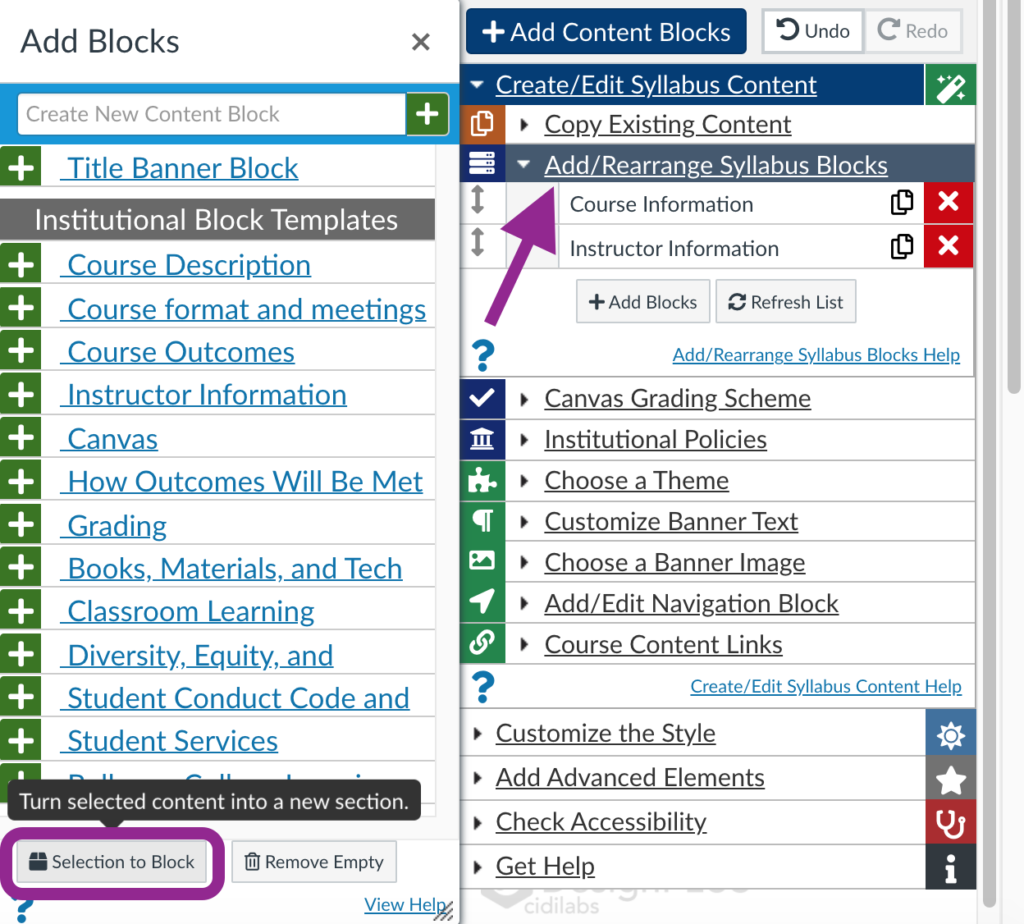
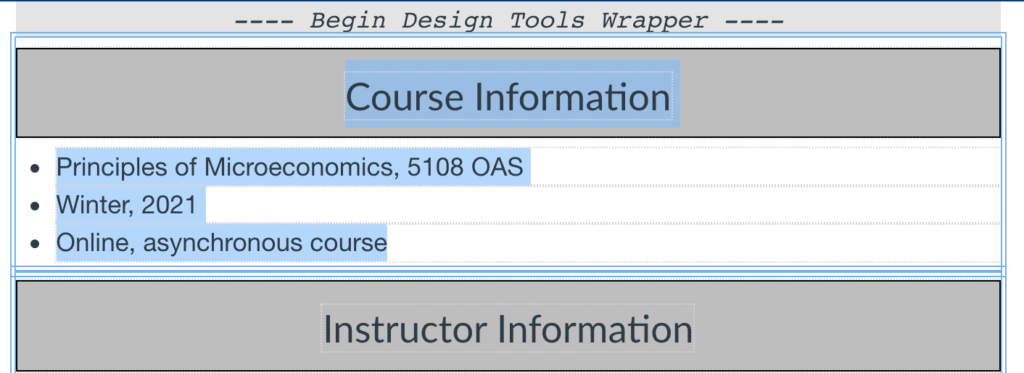
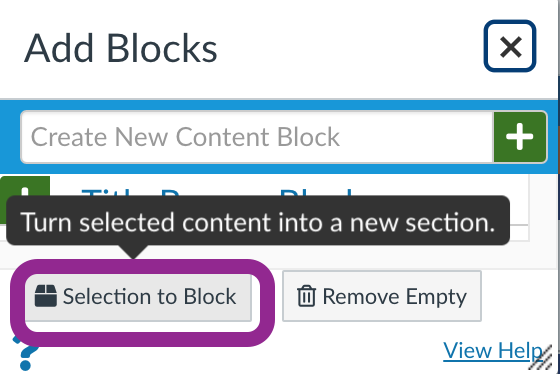
3. Highlight all the content in your syllabus, then click on “Add/edit content blocks” and then “selection to block.” This will move your current syllabus content inside the Design Tools wrapper.
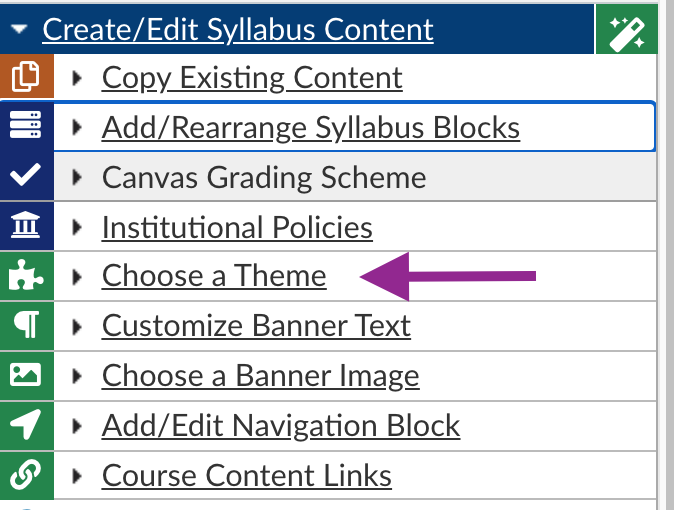
4. Click on “choose a theme” in the Design Tools menu.
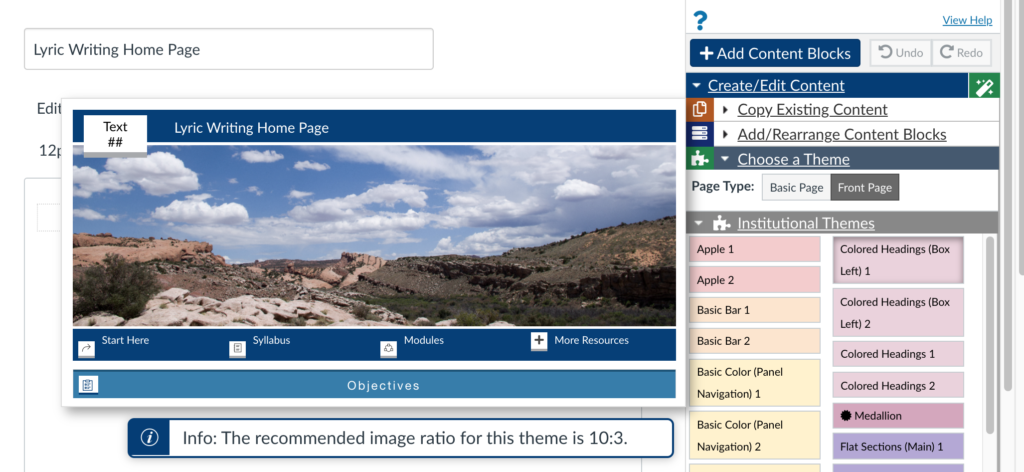
5. Scroll over the theme options to see a pop-up representation of the themes. Then choose your theme.
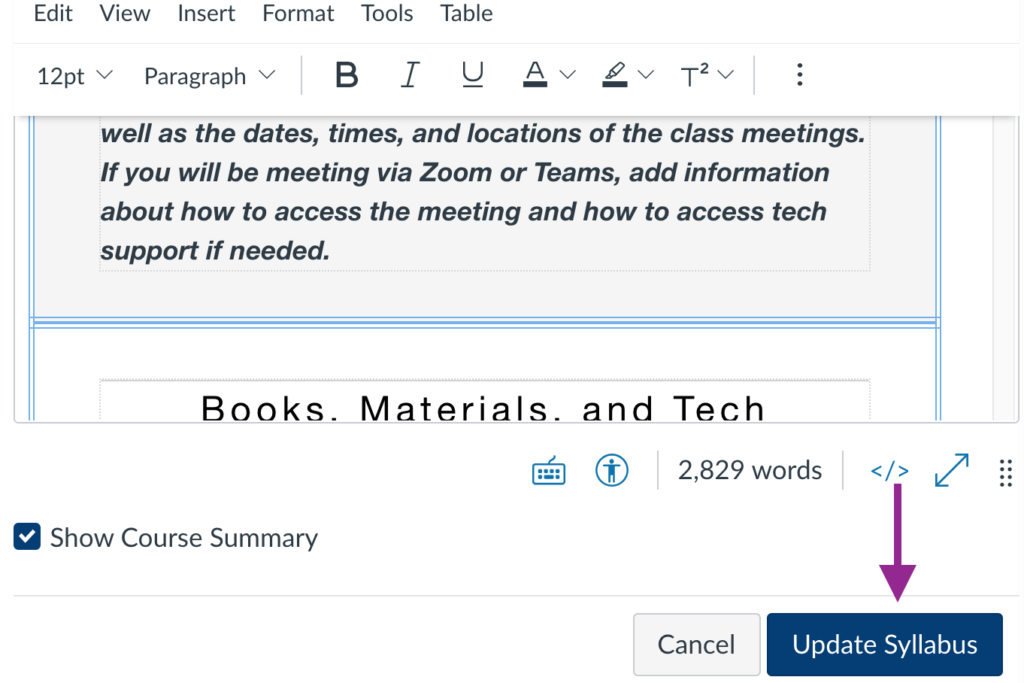
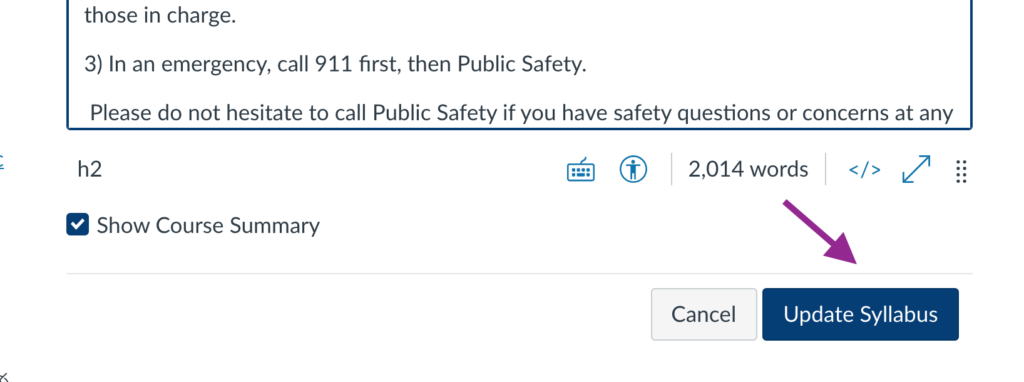
6. Save you syllabus page by clicking “update syllabus.”
- From the syllabus screen, click on edit to open the rich content editor.
2. Launch the Design Tools interface by clicking on the rocket icon in the upper right-hand corner of the screen, or by using the short-cut keys Option-Shift-D on a Mac or Alt-Shift-D on a PC.
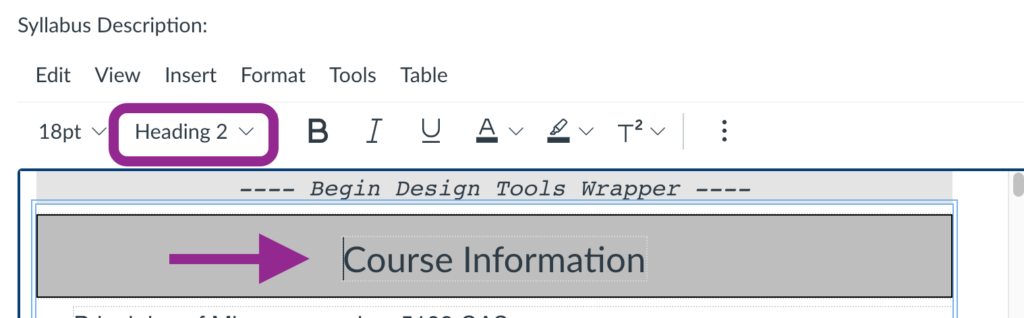
3. Double check the heading structure in your syllabus page. Major sections of your syllabus should be styled as heading level 2 (H2). To check this, click anywhere on that line of the syllabus and look at the heading structure in the rich content toolbar. Fix your heading structure if needed.
4. Highlight a content block in your syllabus. A content block includes the heading and the paragraph text underneath.
5. Click on “Add/edit content blocks” to open the content block editor.
6. In the content blocks pop-up window, choose “content to block.”
7. Highlight the next header and paragraph block in your syllabus and repeat the “selection to block” process. Continue this until all the syllabus content has been moved into content blocks in Cidi Labs.
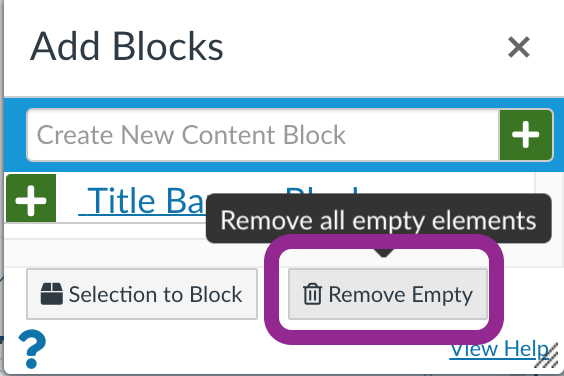
8. After you have moved all the content blocks into Cidi Labs, choose the “remove empty” option in the “add blocks” pop-up. This will delete orphan content and clean up the syllabus page. Do this stop only after you are sure that all desired content has been moved to blocks inside the design tools wrapper.
9. Click “update syllabus” to save your changes.
- Click on “edit” on the syllabus page to open the rich content editor.
2. Launch the Design Tools interface by clicking on the rocket icon in the upper right-hand corner of the screen, or by using the short-cut keys Option-Shif-D on a Mac or Alt-Shift-D on a PC.

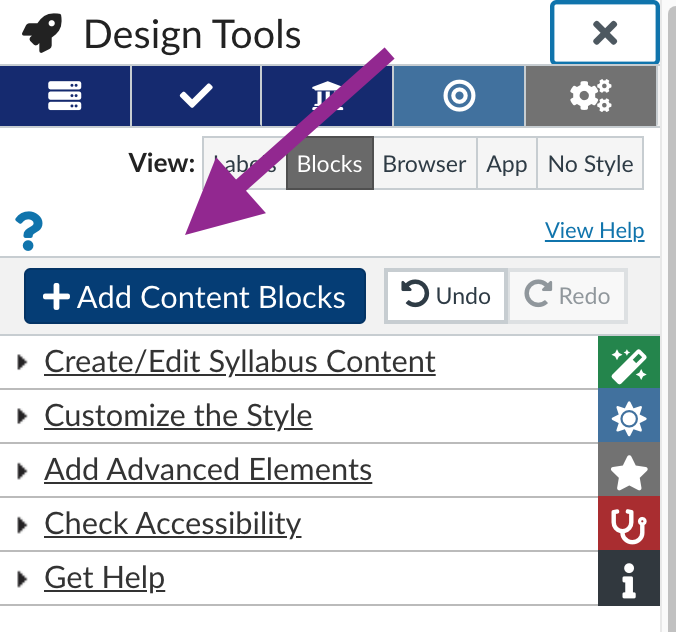
3. To add, delete, or move content blocks, click on the “Add Content Blocks” option in the Design Tools editor.
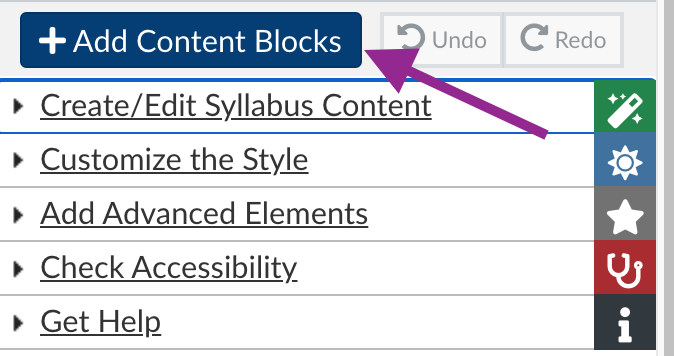
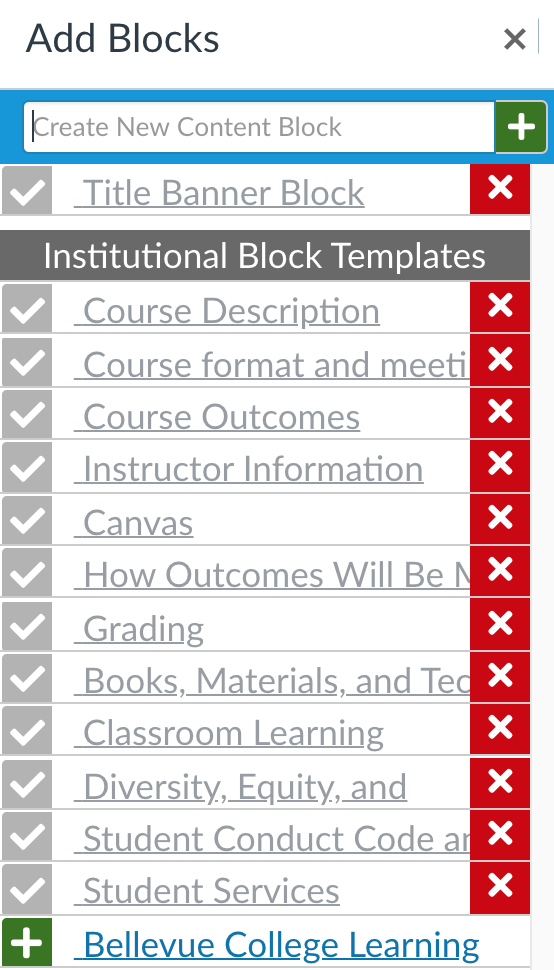
4. The current content blocks in the syllabus template will be listed. You can add additional content blocks by naming a new block in the “create new content block” field and clicking on the green plus icon. You can delete existing content blocks by clicking on the red x next to any content block name.
5. In the Add/Rearrange Content Blocks space you can move content blocks to a different location on the syllabus by clicking on the arrows can dragging the content block to a new space.
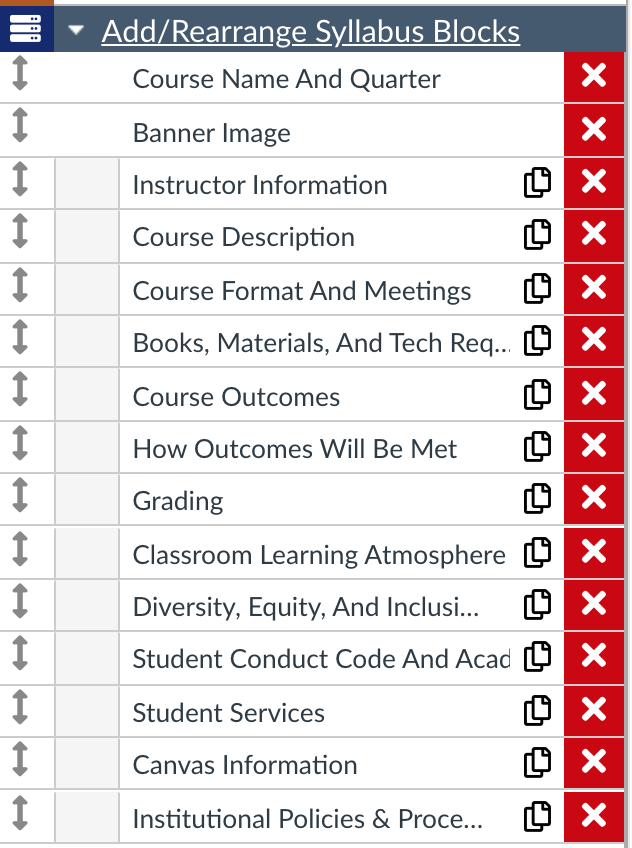
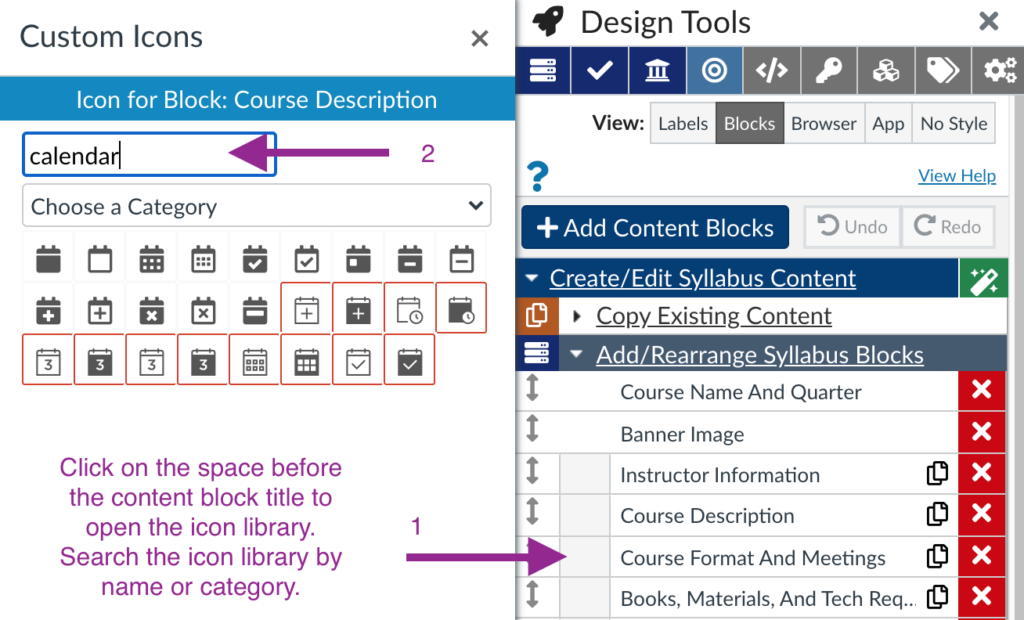
6. In the Add/Rearrange Syllabus Blocks space you can add or remove icons as well by clicking into the blank space before the content block title. This opens up the searchable icon library.
- Click on “Choose a Theme” in the “Create/Edit Syllabus Content” drop-down menu.
2. Hover over the different themes to see a pop-up view of that theme. Choose a theme.
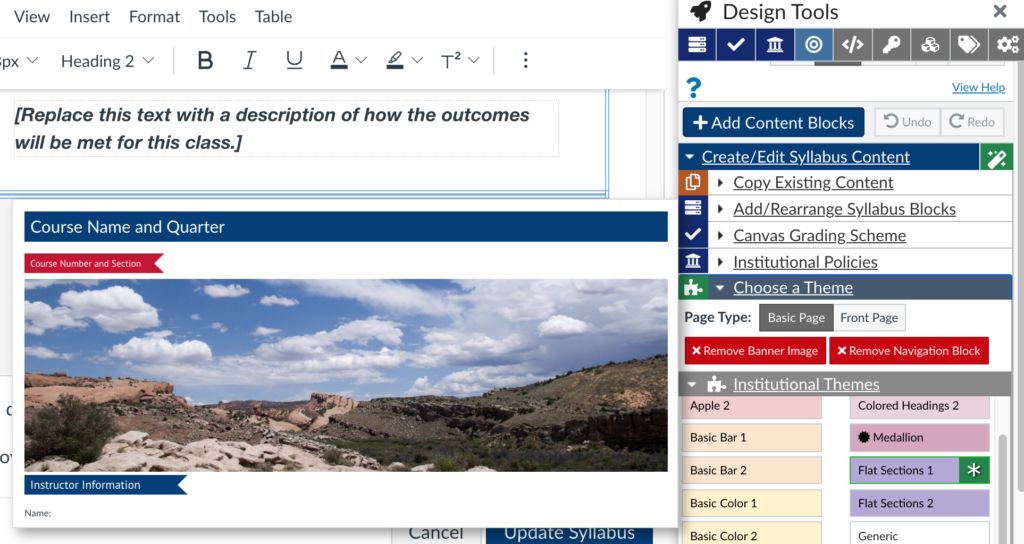
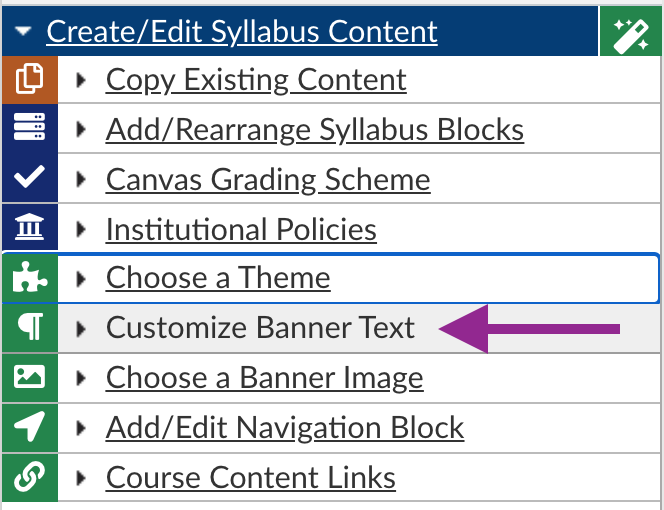
3. Choose “Update Banner Text” in the “Create/Edit Syllabus Content” drop-down menu.
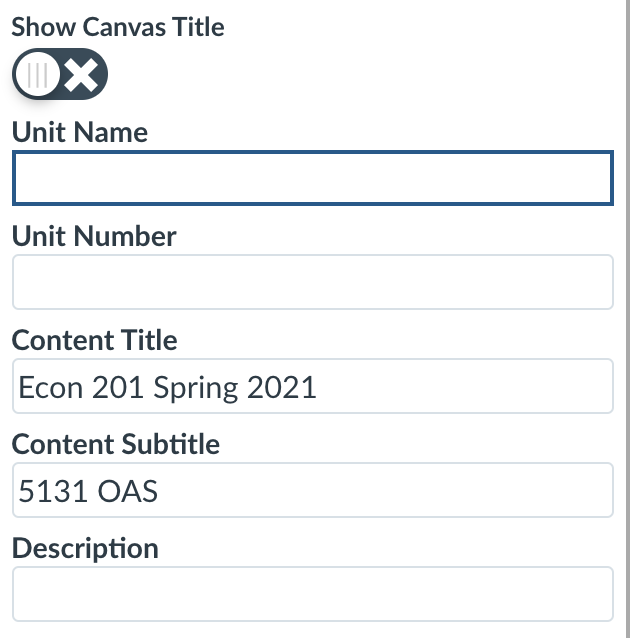
4. Add your course name and quarter and the section number and section into the text fields available.
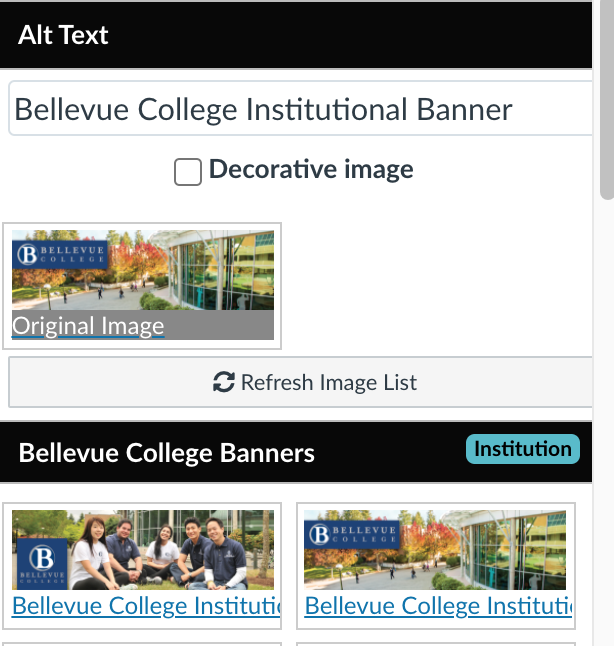
5. Click on “Choose a Banner Image in the “Create/Edit Syllabus Content” drop-down menu.
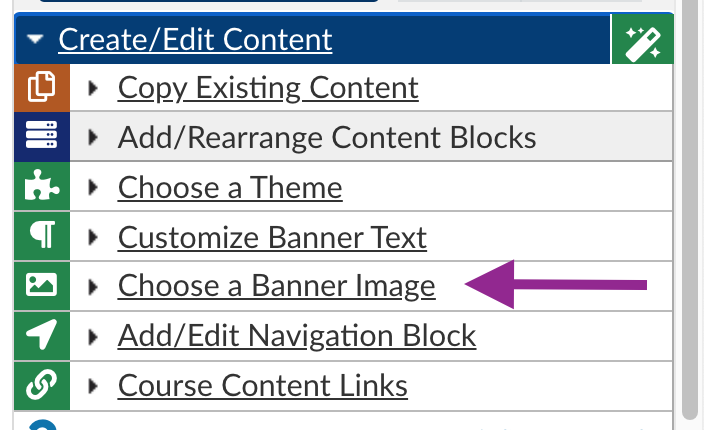
6. Choose the banner image that you prefer. Keep in mind that some of the banner images may work better with some themes than others.
7. Update the syllabus page to save the new settings.
Last Updated October 4, 2021