
A content block is a combination of a heading and paragraph styles. There are many advantages to using content blocks to create your content. Using the content block option in Cidi Labs, whether you use the preset blocks or create your own, will save you time. The use of content blocks promotes accessibility and consistency to your content. And, it will allow you the capability to quickly change the look and feel of the content.
This resource shows you how to use Cidi Labs content blocks for a page, but the process is the same for assignments, discussion, announcements, and the quiz details page.
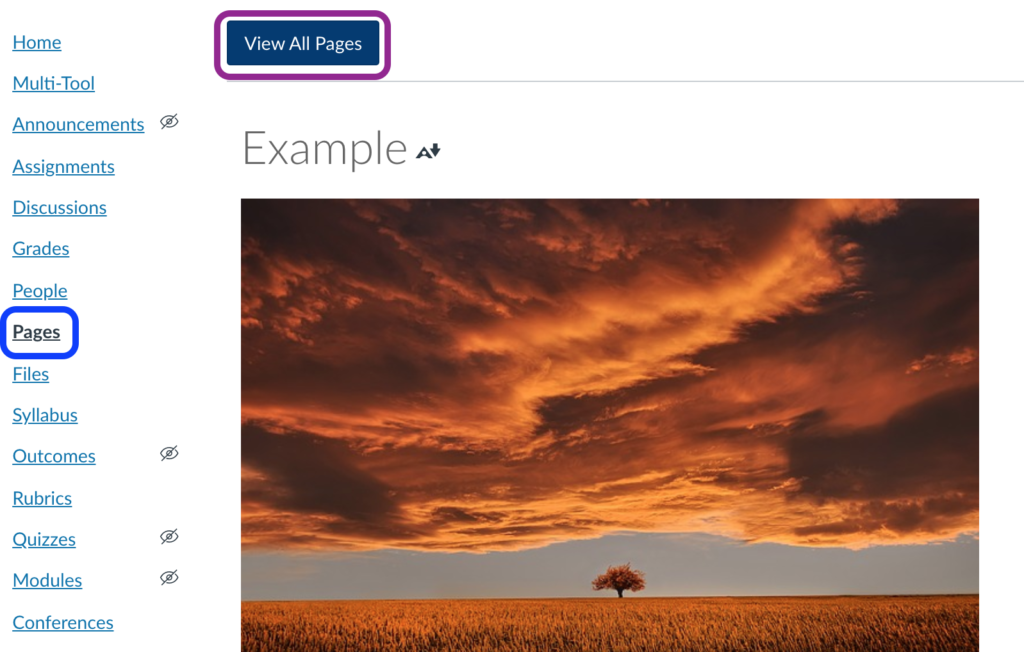
- In the Canvas pages screen, choose “view all pages.”
2. Create a new page by clicking “+ page.”

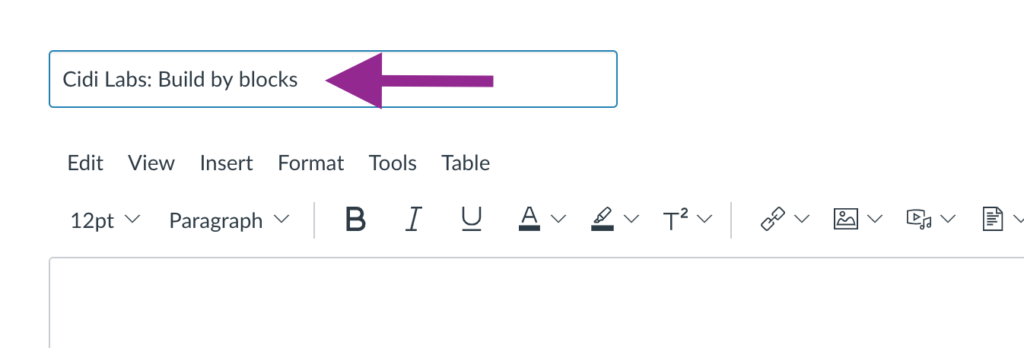
3. Title your page.
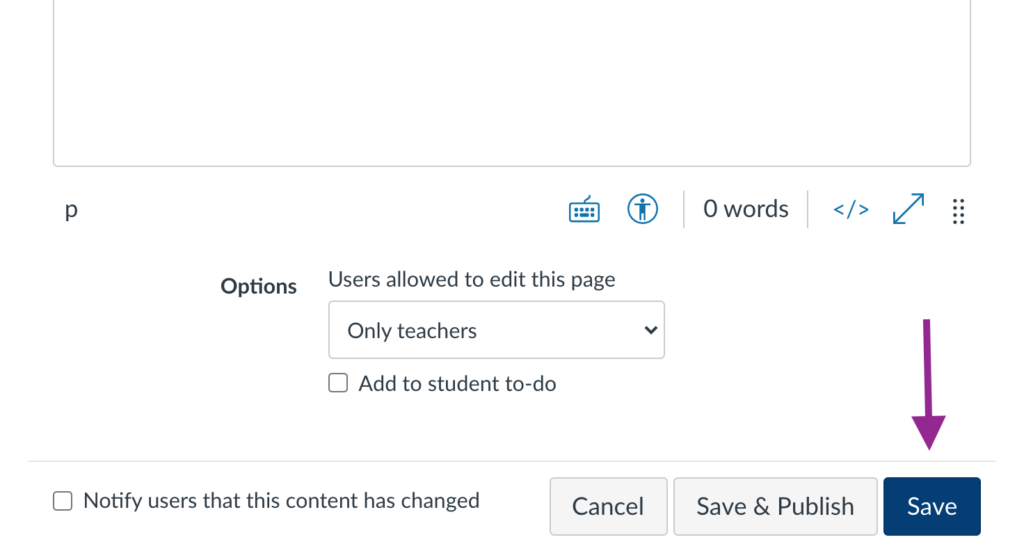
4. Save your new page.
- Open the page to add blocks.

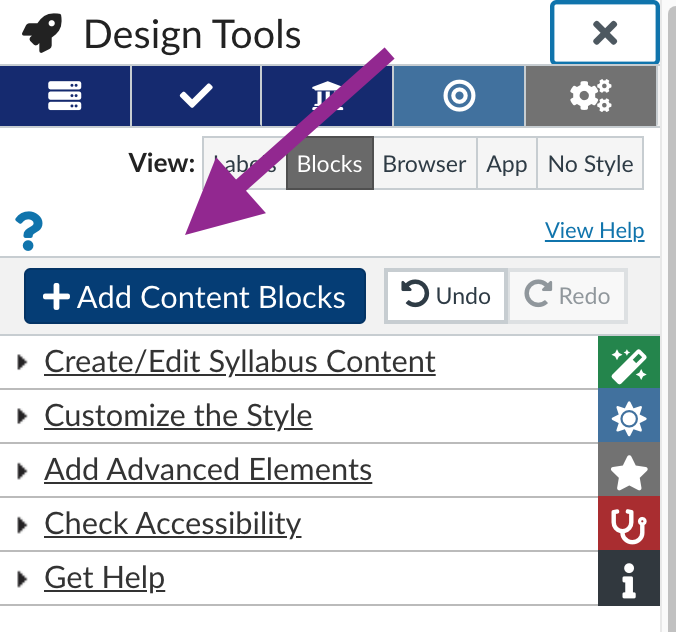
2. Launch the Design Tools interface by clicking on the rocket icon in the upper right-hand corner of the screen, or by using the short-cut keys Option-Shift-D on a Mac or Alt-Shift-D on a PC.

3. Choose “+ Add Content Blocks” in the Design Tools editor.
4. Choose the content blocks from the preset options, or add your own in the text field provided in the pop-up window.
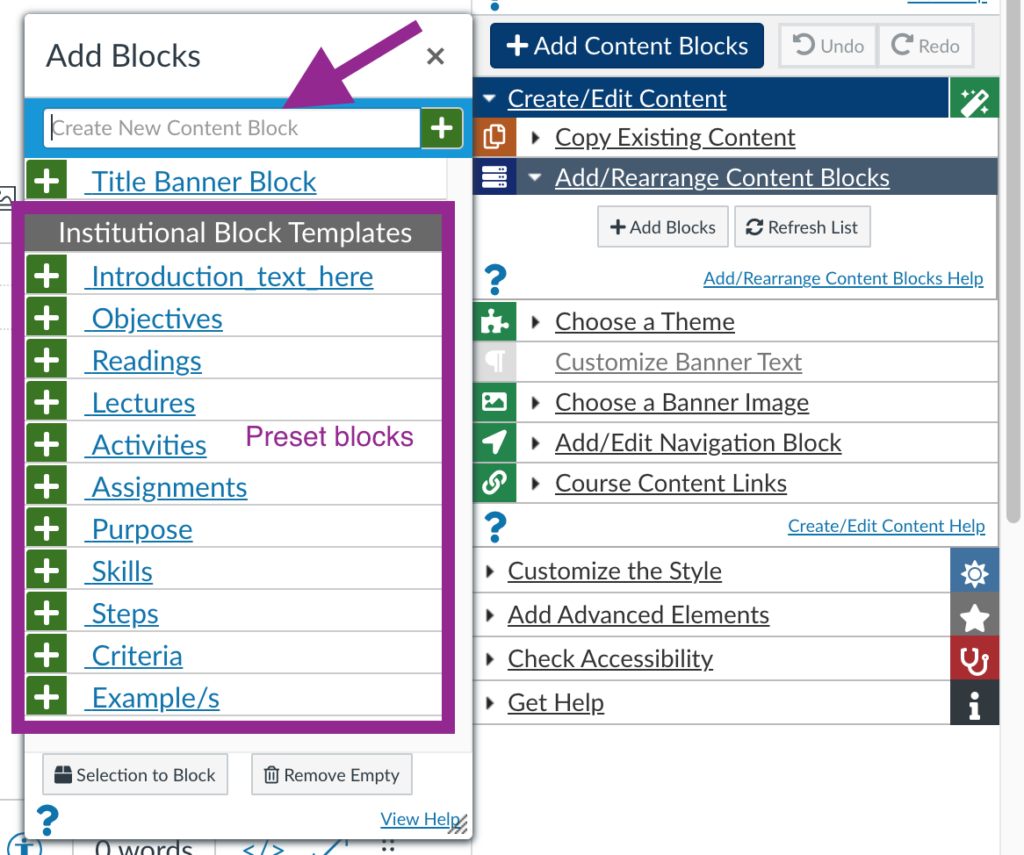
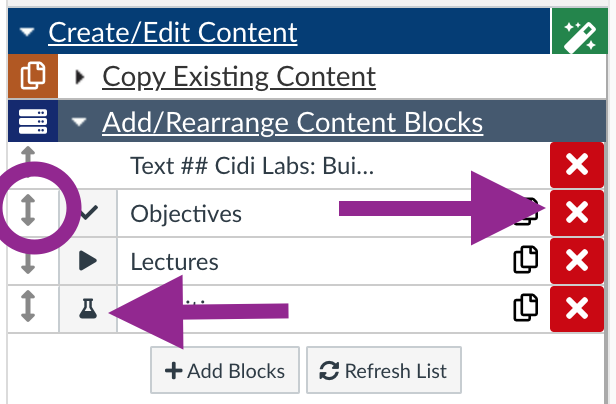
5. Once the content blocks are chosen, you can make changes to the blocks in the Add/Rearrange Content Blocks editor. Here, you can rearrange the block order, delete unwanted blocks, add or remove icons associated with each block, and add new blocks.
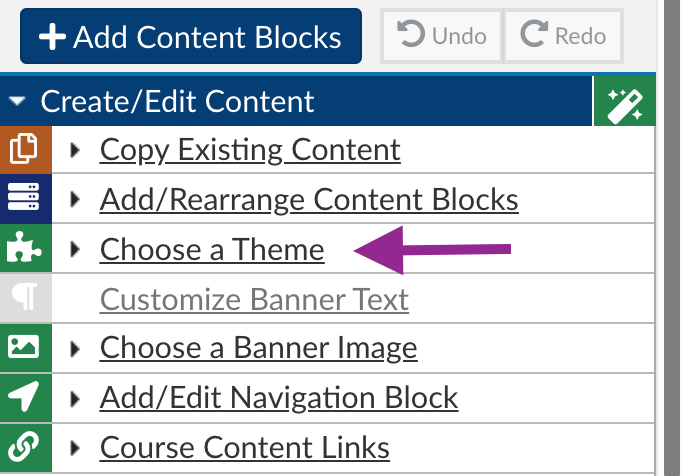
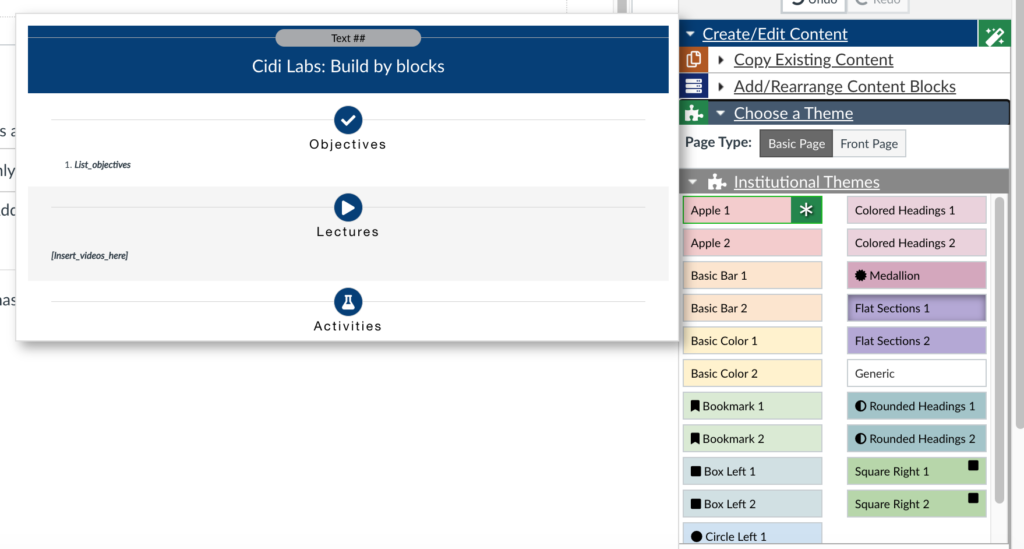
6. Click on “Choose a theme.”
7. Hover over the themes to see a pop-up representation of the theme. Choose a theme.
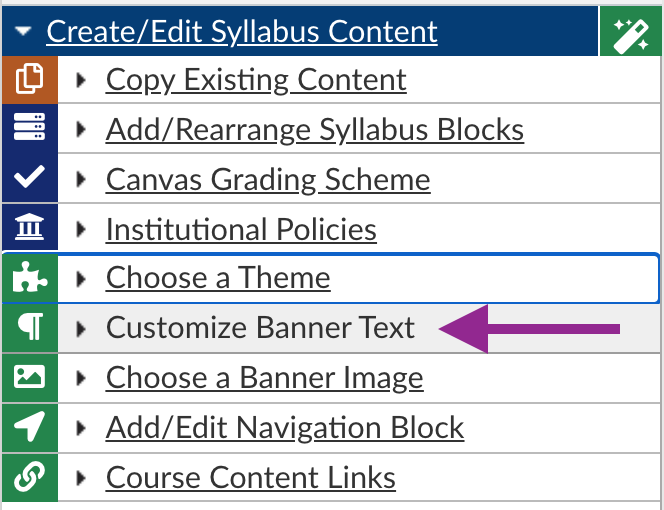
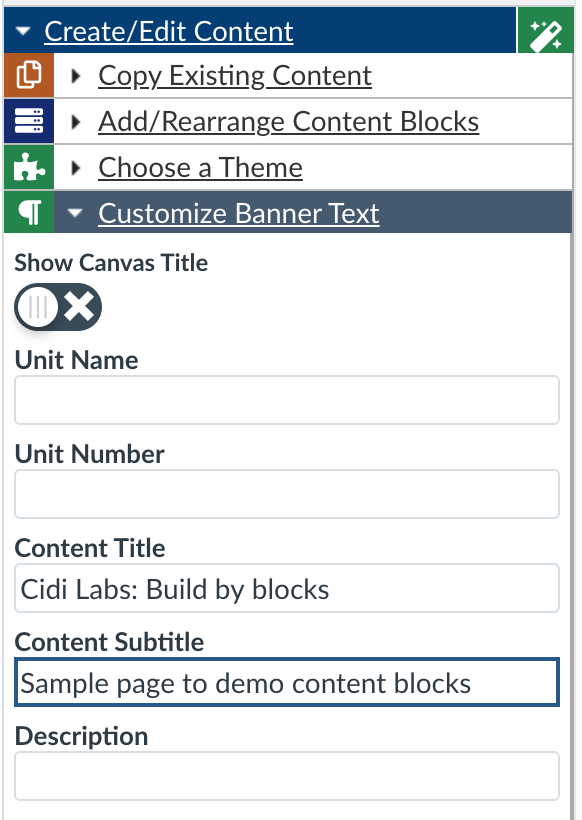
8. Click on “Customize Banner Text.”
9. Add your own banner text information. Remove any preset text you don’t want.
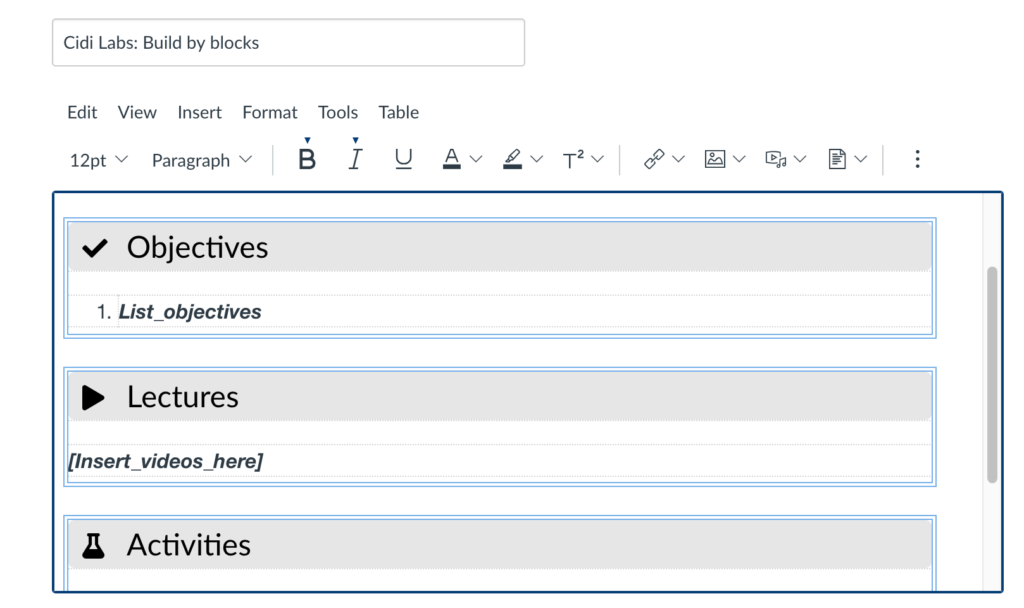
10. You may now add your own content to the blocks in the rich content editor in Canvas.
11. Save your changes.
Last Updated February 25, 2021